Are you tired of using store-bought vanilla extract that tastes like it was made in a laboratory? Do you want to take your baking game to the next level with some homemade, real-deal vanilla extract? Well, you’re in luck – because we’re about to dive into the wonderful world of DIY vanilla extract.
We’re going to answer all your burning questions about making vanilla extract at home. How do you do it? What ingredients do you need? Is it worth the effort? And of course, the age-old question – what’s the best vodka for making vanilla extract?
Get ready to say goodbye to those artificial flavors and hello to the sweet, pure taste of homemade vanilla extract. So roll up your sleeves, grab your apron, and let’s get to work (or play, really – because who doesn’t love whipping up some delicious treats?).
How to Make Vanilla Extract
Alrighty, folks – it’s time to roll up our sleeves and get down to the nitty gritty of making homemade vanilla extract. Trust me, this is going to be easier than you think (and way more delicious).
Here’s what you’ll need:
- Vanilla beans – good quality
- Vodka (preferably a high quality one)
- A glass jar with a tight-fitting lid
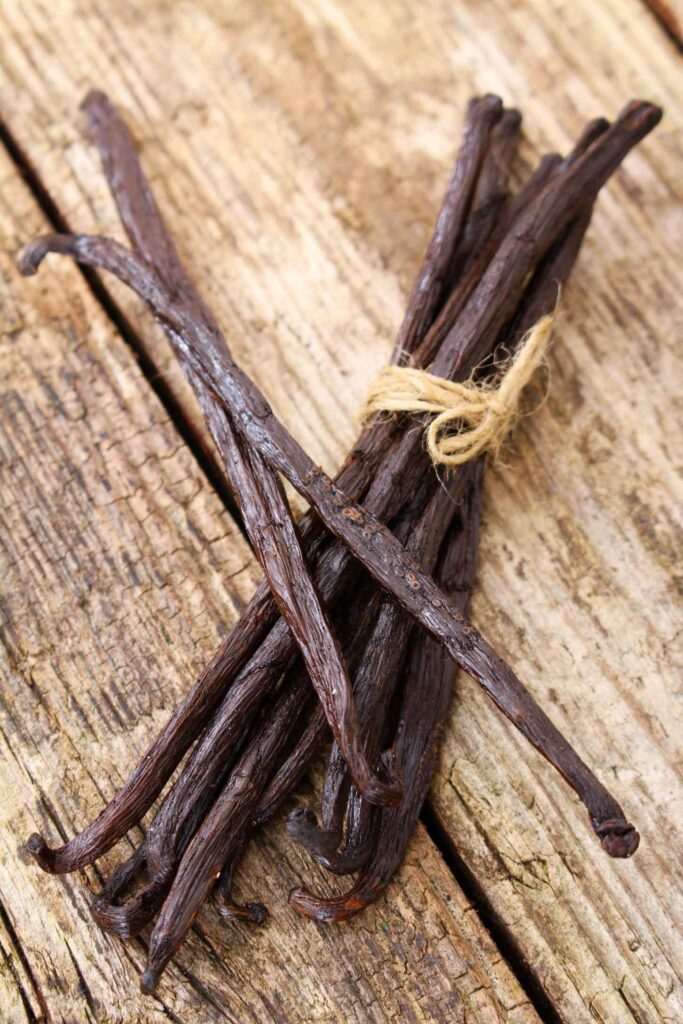
Step 1: Choose your beans wisely. Look for plump, moist beans without any cracks or splits. And don’t skimp on quality – the better the beans, the better the extract.
Step 2: Slice those beautiful beans in half lengthwise. You want to expose as much of the flavorful insides as possible.
Step 3: Grab your glass jar and fill it up with vodka. Leave a little bit of room at the top for the beans to be added.
Step 4: Add the sliced beans to the jar, making sure they’re fully submerged in the vodka. Give it a good shake to mix everything up.
Step 5: Store the jar in a cool, dark place (like a pantry or cupboard). Give it a good shake every few days to help the flavors meld together.
Step 6: Wait patiently. It’ll take a few weeks for the vanilla extract to fully develop its flavor. But trust me, it’ll be worth it.
Step 7: Once the extract is ready, strain out the beans and store the liquid in a clean jar. Congratulations – you just made homemade vanilla extract!
So there you have it, folks. Making your own vanilla extract is as easy as pie (or, you know, adding it to pie). And the best part? You can use that high-quality vodka you bought for the extract to make yourself a celebratory drink. Cheers to homemade goodness!
Glass Bottles? or Plastic?
When it comes to making homemade vanilla extract, using a glass bottle is essential. And no, we’re not just being pretentious here – there are some good reasons why plastic bottles aren’t the best choice for this particular project.
First off, plastic can be porous, which means that flavors and odors from the bottle itself can seep into your vanilla extract over time. This can result in a funky, off-flavor that nobody wants in their baked goods.
Additionally, plastic can be affected by high-proof alcohol (like the vodka you’re using to make your extract). Over time, the alcohol can cause the plastic to degrade or break down, potentially leaching harmful chemicals into your extract. Yikes.
On the other hand, glass is non-porous and won’t be affected by the alcohol in the same way that plastic would. Plus, glass bottles are generally more durable and less prone to cracking or breaking (which is important when you’ve got a precious batch of vanilla extract steeping inside).
So go ahead and raid your recycling bin for that old spaghetti sauce jar – we promise it’ll be worth it.
Now let’s dig into the finer details… first, let’s talk beans. Vanilla beans that is.
Different Varieties of Vanilla Beans
Vanilla beans, they’re the magical fruit – or something like that. But did you know that not all vanilla beans are created equal? That’s right, folks – there are different types of vanilla beans out there, and they all have their own unique flavor profiles.
Let’s start with Tahitian vanilla beans. These little guys are known for their fruity, floral notes, with hints of cherry and almond. They’re often used in desserts like custards and ice creams, as well as in more savory dishes like seafood and chicken.
Next up is Madagascar vanilla beans, which is probably the most commonly used type of vanilla. It’s got a sweet, creamy flavor with subtle notes of caramel and a woody finish. This is the type of vanilla you’re likely to find in your store-bought extract but trust me – the real deal is even better.
And finally, we have Mexican vanilla beans. These guys are bold and complex, with a spicy kick that sets them apart from the other varieties. They’re often used in chocolate-based desserts or paired with cinnamon for a warm, comforting flavor.
Now, I know what you’re thinking – do these differences really matter? Can’t I just use any old vanilla bean in my recipe?
Well, sure, you can use any vanilla bean you want. But if you’re looking to elevate your baking game, it’s worth experimenting with different types and seeing how they can enhance your flavors. Plus, it’s just fun to try new things and taste the subtle nuances between each variety.
So go forth and experiment, my friends. You never know what delicious flavor combinations you might discover.

Vanilla Beans – What Else Do I Need to Know?
Vanilla beans are a key ingredient in making homemade vanilla extract, and lucky for us, they’re not too hard to come by. You can usually find them at specialty grocery stores or online retailers, and they come in a variety of grades and styles.
So, let’s talk about these grades. Yes, there is a grading system for vanilla beans – it’s based on the length, appearance, and moisture content of the beans. The most common grades you’ll see are Grade A, Grade B, and Grade C.
Grade A beans are typically the most expensive and highest quality, with a moist, plump texture and a strong, sweet aroma. These are the beans you’ll want to use if you’re looking for the best possible flavor in your vanilla extract or other recipes.
Grade B beans are usually less expensive and slightly lower quality than Grade A beans. They may have a slightly drier texture or less pronounced flavor, but they’re still perfectly fine to use in most recipes.
Grade C beans are the lowest grade, and are often used for industrial purposes or to make vanilla powder. They tend to be drier and less flavorful than the higher grades and may have more visible imperfections.
When it comes to buying vanilla beans, it’s important to choose a reputable source and look for beans that are plump, moist, and aromatic. And remember, the quality of your beans will directly impact the flavor of your homemade extract – so it’s worth splurging for the good stuff if you can.
If you want the best quality vanilla beans, go for Grade A. But if you’re on a budget, Grade B beans will work just fine. And no matter what grade you choose, make sure they’re fresh and aromatic to get the best flavor possible out of your homemade vanilla extract.
Onto the vodka… is there a best?
Best Vodka
Alright, let’s get to the bottom of this age-old question – what’s the best vodka for making vanilla extract? Is there really a “best choice,” or is it all just a matter of personal preference?
First things first – you want to choose a high-proof vodka. This will help extract as much flavor as possible from those vanilla beans. Aim for something around 80 proof or higher.
But when it comes to choosing a specific brand or type of vodka, things can get a little more complicated. Some people swear by Grey Goose vodka, with its smooth, clean flavor profile. Others love Deep Eddy, with its slightly sweet finish and Texas roots. And then there’s Tito’s, which has become a household name in recent years thanks to its affordable price point and approachable taste.
But here’s the thing – when it comes to making vanilla extract, the brand of vodka you choose isn’t going to make or break the final product. As long as you’re using a high-quality, high-proof vodka, you’re good to go.
Now, you might be wondering – is there a difference between potato vodka and corn vodka? The short answer is yes, there is a difference. Potato vodka tends to have a slightly creamier mouthfeel, while corn vodka can be a bit sweeter. But ultimately, the choice between the two comes down to personal preference (and availability – not all liquor stores carry both types).
When it comes to choosing a vodka for your homemade vanilla extract, aim for high-proof and high-quality. And if you need an excuse to taste-test a few different brands, well, consider it research for your next baking project.
Ok… do I have to use vodka? Or can I use another liquor?
Liquor Options??
So we’ve established that vodka is a pretty solid choice when it comes to making vanilla extract. But did you know that you can use different types of alcohol too? That’s right, folks – the possibilities are endless.
Let’s start with rum. You can use either dark or white rum to make vanilla extract, and both will provide their own unique flavor profile. Dark rum tends to have a sweeter, more caramel-like flavor, which makes it a great choice for desserts like crème brûlée or bread pudding. White rum, on the other hand, has a lighter, cleaner taste that works well in lighter dishes like fruit salads or smoothies.
Next up is bourbon. If you’re a fan of the classic flavor combination of bourbon and vanilla, then this might be the option for you. Bourbon has a rich, smoky flavor that pairs perfectly with the sweet, floral notes of vanilla. Use it in your favorite baked goods or try using it to make a homemade barbecue sauce.
And finally, we have brandy. This option might not be as common as the others, but it’s definitely worth trying. Brandy has a warm, fruity flavor that can add depth and complexity to your vanilla extract. Try using it in a spiced cake recipe or drizzle it over a bowl of fresh fruit.
So there you have it, – a few different options for making vanilla extract that goes beyond the classic vodka choice. Experiment with different liquors and see what flavors you can create. Who knows, you might just discover your new favorite baking ingredient.
How Long Will this take?
Ah, the age-old question – how long do you need to let those vanilla beans soak in the vodka? The answer may surprise you.
The short answer is that you’ll want to let your vanilla extract steep for at least 4-6 weeks to fully develop its flavor. But if you’re looking for a deeper, more complex flavor, you can let it steep for even longer (up to several months, if you’re feeling patient).
Now, the question of whether or not you need to replenish the vodka often is a bit trickier. If you notice that the level of liquid in your jar is getting low, you can certainly add more vodka to top it up. But keep in mind that as long as the beans are fully submerged, they should continue to infuse the vodka with their flavor over time.
As for adding more beans – this isn’t something you need to do often (or really at all if you don’t want to). As long as you started with enough beans to begin with and they’re fully submerged in the vodka, they should continue to impart their flavor for quite some time.
So how do you know when your vanilla extract is “done”? Well, that’s mostly a matter of personal preference. Taste it every now and then as it’s steeping to see how the flavor is developing. Once it has reached your desired strength, you can strain out the beans and transfer the extract to a clean jar.
But wait – how long does homemade vanilla extract actually last? The good news is that it can last for a long time (like, years) as long as you take care of it. Keep it in a cool, dark place (like a pantry or cupboard), and make sure the lid is tightly sealed. And if you ever notice any funky smells or discoloration, it’s probably time to retire your batch and start fresh.
What to do with those leftover beans
So you’ve just pulled those beautiful vanilla beans out of your homemade extract…now what? Do they get thrown away, or is there something else you can do with them?
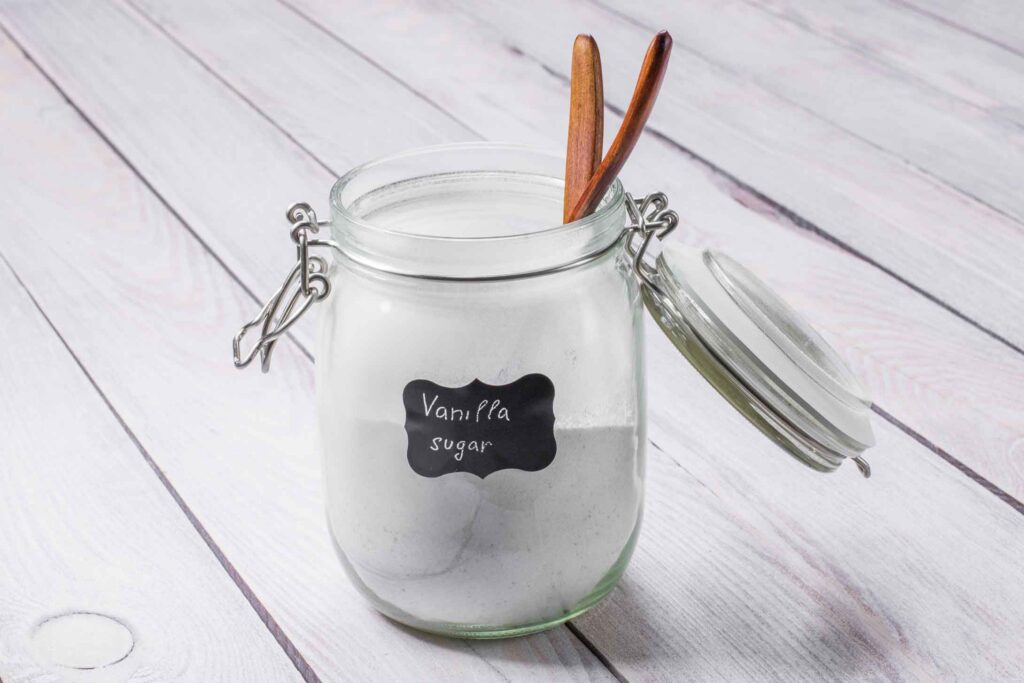
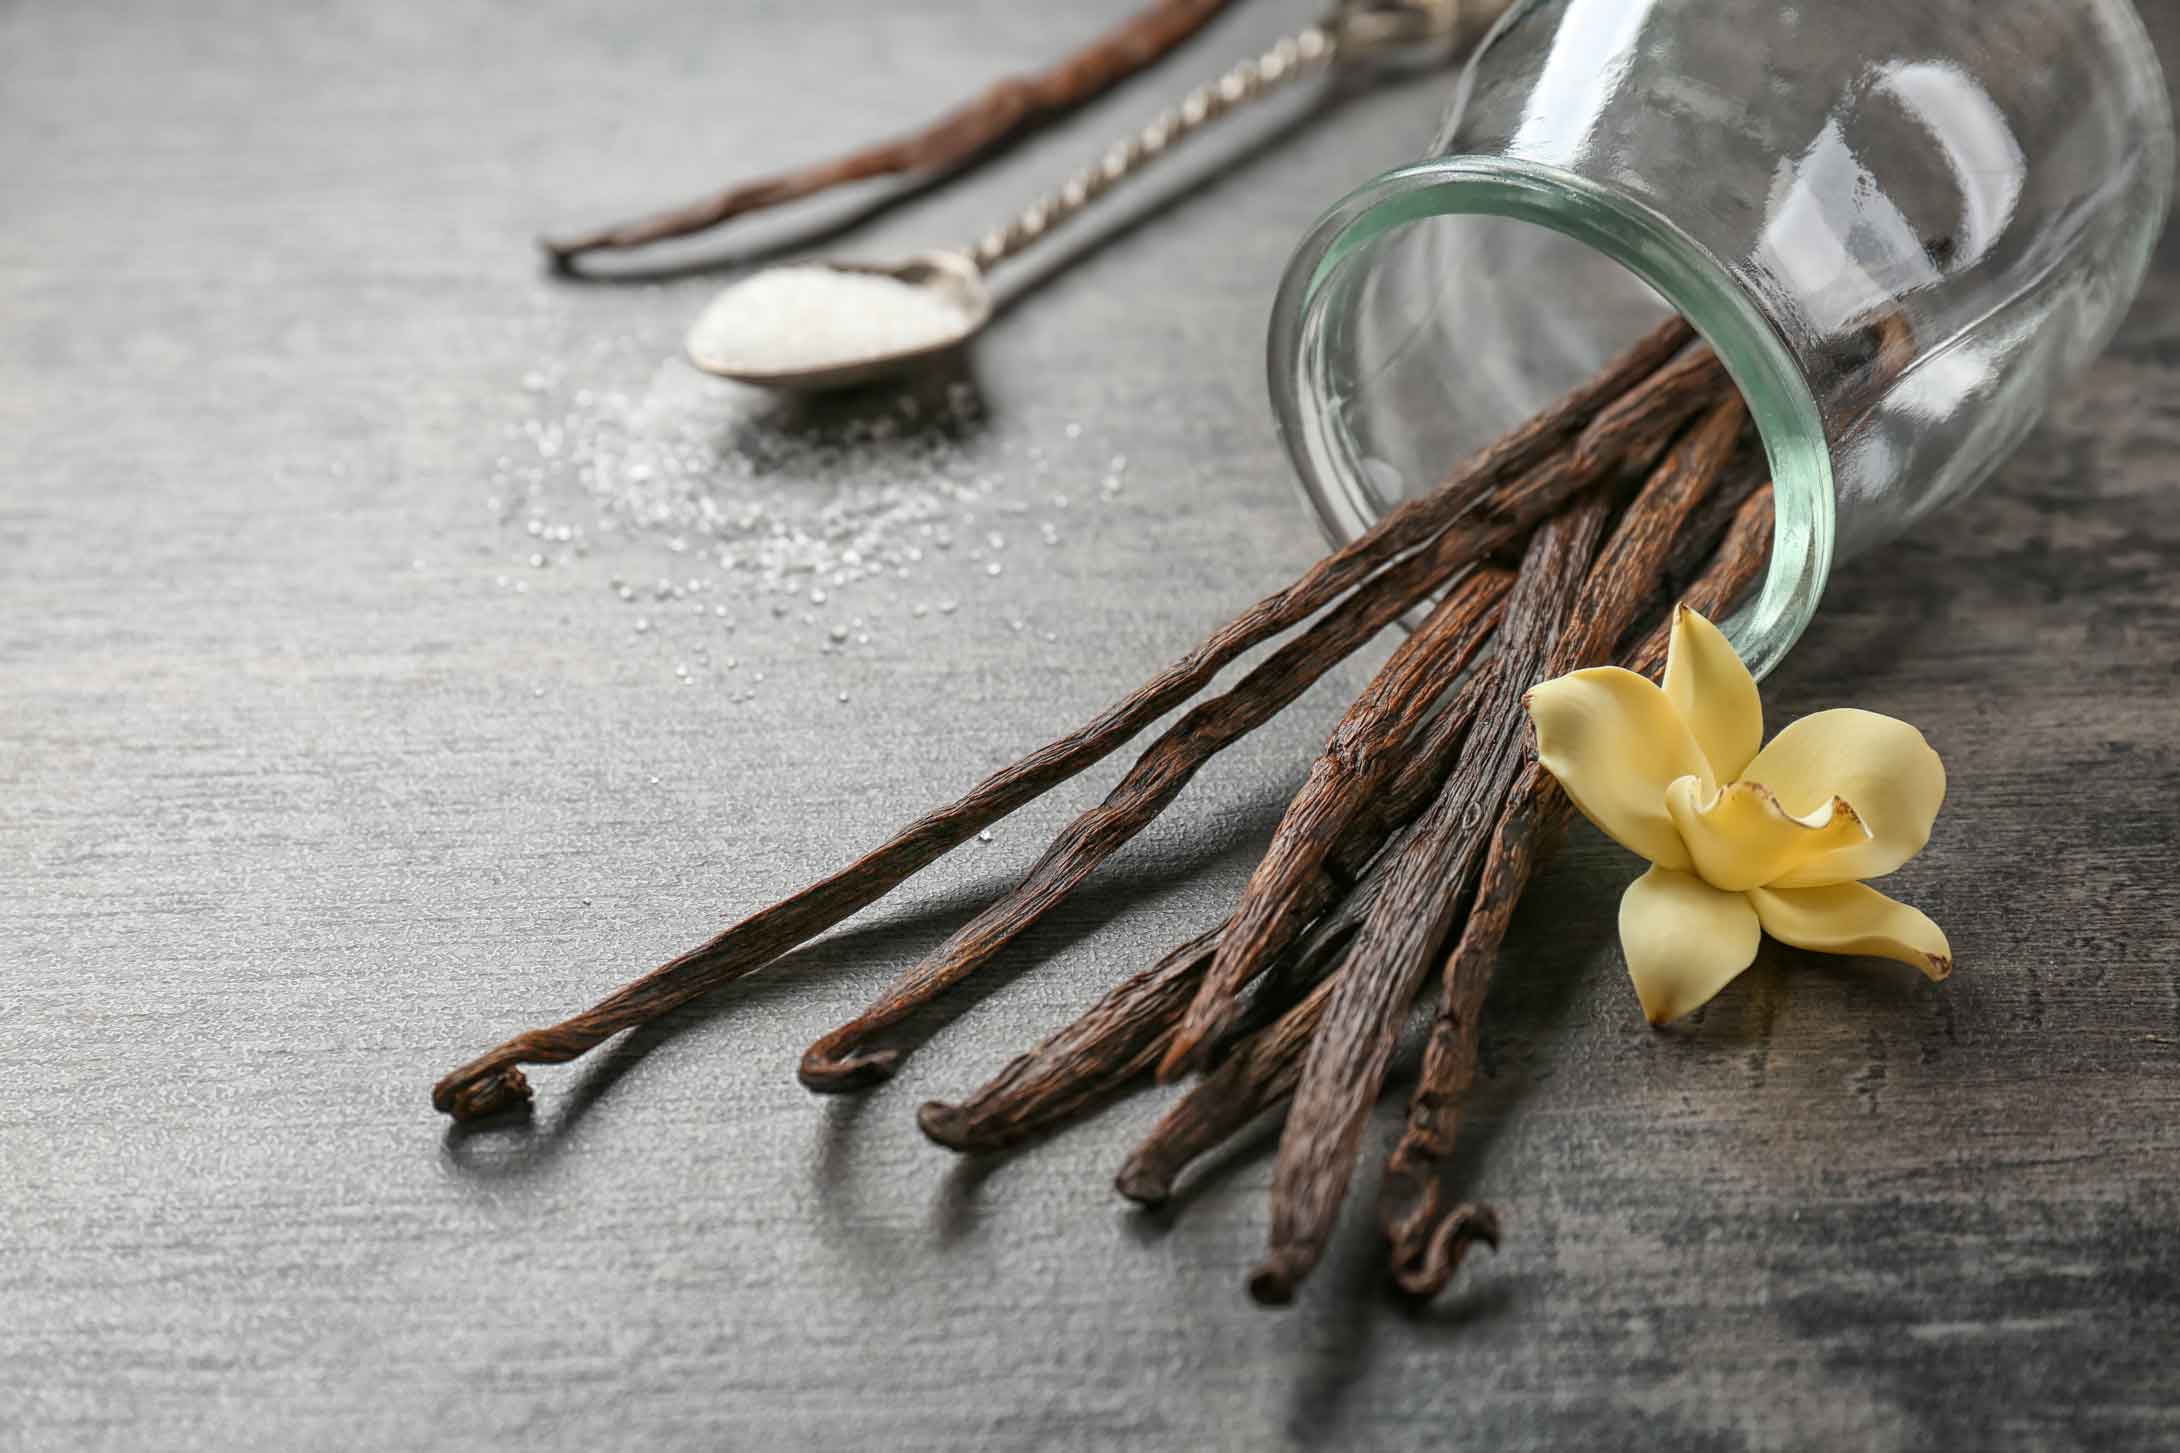
The good news is that those leftover beans still have plenty of flavor left in them, so you can definitely put them to use. One option is to let them dry out and then grind them up to make vanilla sugar. This is a simple process – just spread the beans out on a baking sheet and let them dry out completely (which might take a few days). Then, grind them up in a food processor with some granulated sugar until everything is well combined. Voila – homemade vanilla sugar!
But wait, there’s more! You can also use those leftover beans to make vanilla-infused honey, or even add them to a jar of sea salt to create a flavorful seasoning.
So don’t throw those beans away just yet – they still have plenty of life left in them. And who knows, you might just discover a new favorite ingredient in the process.

Why Homemade?
Let’s talk about the difference between the stuff you buy at the grocery store and the homemade variety. Spoiler alert: homemade is way better. Let me tell you why.
First off, let’s talk about how that grocery store vanilla extract is made. The truth is, most of the “pure” vanilla extracts you see on the shelves are made with a combination of real vanilla and artificial additives (sometimes labeled as “natural flavors”). That’s right – you’re paying top dollar for a product that contains only a fraction of the real stuff.
But even if you do spring for a bottle labeled as “pure” vanilla extract, chances are it’s been sitting on that shelf for a while. Over time, the flavor of the vanilla can deteriorate, leaving you with a less-than-stellar baking experience.
Now, let’s contrast that with homemade vanilla extract. When you make your own extract, you’re in control of what goes into it. You start with high-quality, whole vanilla beans and steep them in a high-proof liquor (like vodka) for several weeks. This allows the full flavor of the beans to infuse the liquid, creating a rich, complex flavor that simply can’t be replicated by store-bought extract.
Plus, making your own vanilla extract is just plain fun. It’s a DIY project that yields delicious results, and it’s perfect for those of us who want to feel like we’re “getting back to our roots” in the kitchen. And don’t even get me started on the bragging rights that come with telling your friends that you made your own vanilla extract from scratch. Plus, think about this, use smaller bottles and make different flavors using different alcohols. Then wrap a bow on them and they become wonderful gifts. After all, wouldn’t your own homemade vanilla extract be the perfect gift for the baker in your life?
Homemade Vanilla Extract Recipes
So you’ve made your own batch of homemade vanilla extract – now what? Sure, you can use it in all sorts of baked goods and desserts, but why stop there? Here are a few creative ideas for using your vanilla extract outside of the standard recipes:
- Drizzle it over ice cream: Who says vanilla extract is only for baking? Try drizzling a little bit of your homemade extract over a scoop of vanilla ice cream for an extra boost of flavor. You can even mix it into some hot fudge sauce for a decadent treat.
- Add it to your coffee: If you’re a fan of flavored coffee drinks, try adding a splash of vanilla extract to your morning cup of joe. It’ll add a sweet, aromatic note that’s sure to perk you up and start your day off right.
- Make a vanilla martini: Speaking of coffee, why not combine it with your homemade vanilla extract to make a delicious cocktail? Try mixing vodka, cold brew coffee, and a splash of vanilla extract for a flavorful take on the classic martini.
- Infuse your own spirits: Vanilla extract is basically just vanilla beans steeped in high-proof alcohol, so why not use your homemade stuff to infuse other spirits? Try adding a splash to your favorite whiskey or bourbon for a sweet, warming flavor that’s perfect for sipping on a chilly evening.
- Whip up some vanilla butter: Mix a little bit of your vanilla extract into some softened butter for a delicious spread that’s perfect on toast, pancakes, or waffles. You can even add a pinch of cinnamon or nutmeg for extra flavor.
Island Inspired Recipes – Check out all of our other recipes
Well, there it is – the ins and outs of making homemade vanilla extract. And remember, there’s no one “right” way to do it – so get creative and see what delicious flavors you can come up with. Cheers!

